The Minimalist Style Guide
In this Minimalist style guide:
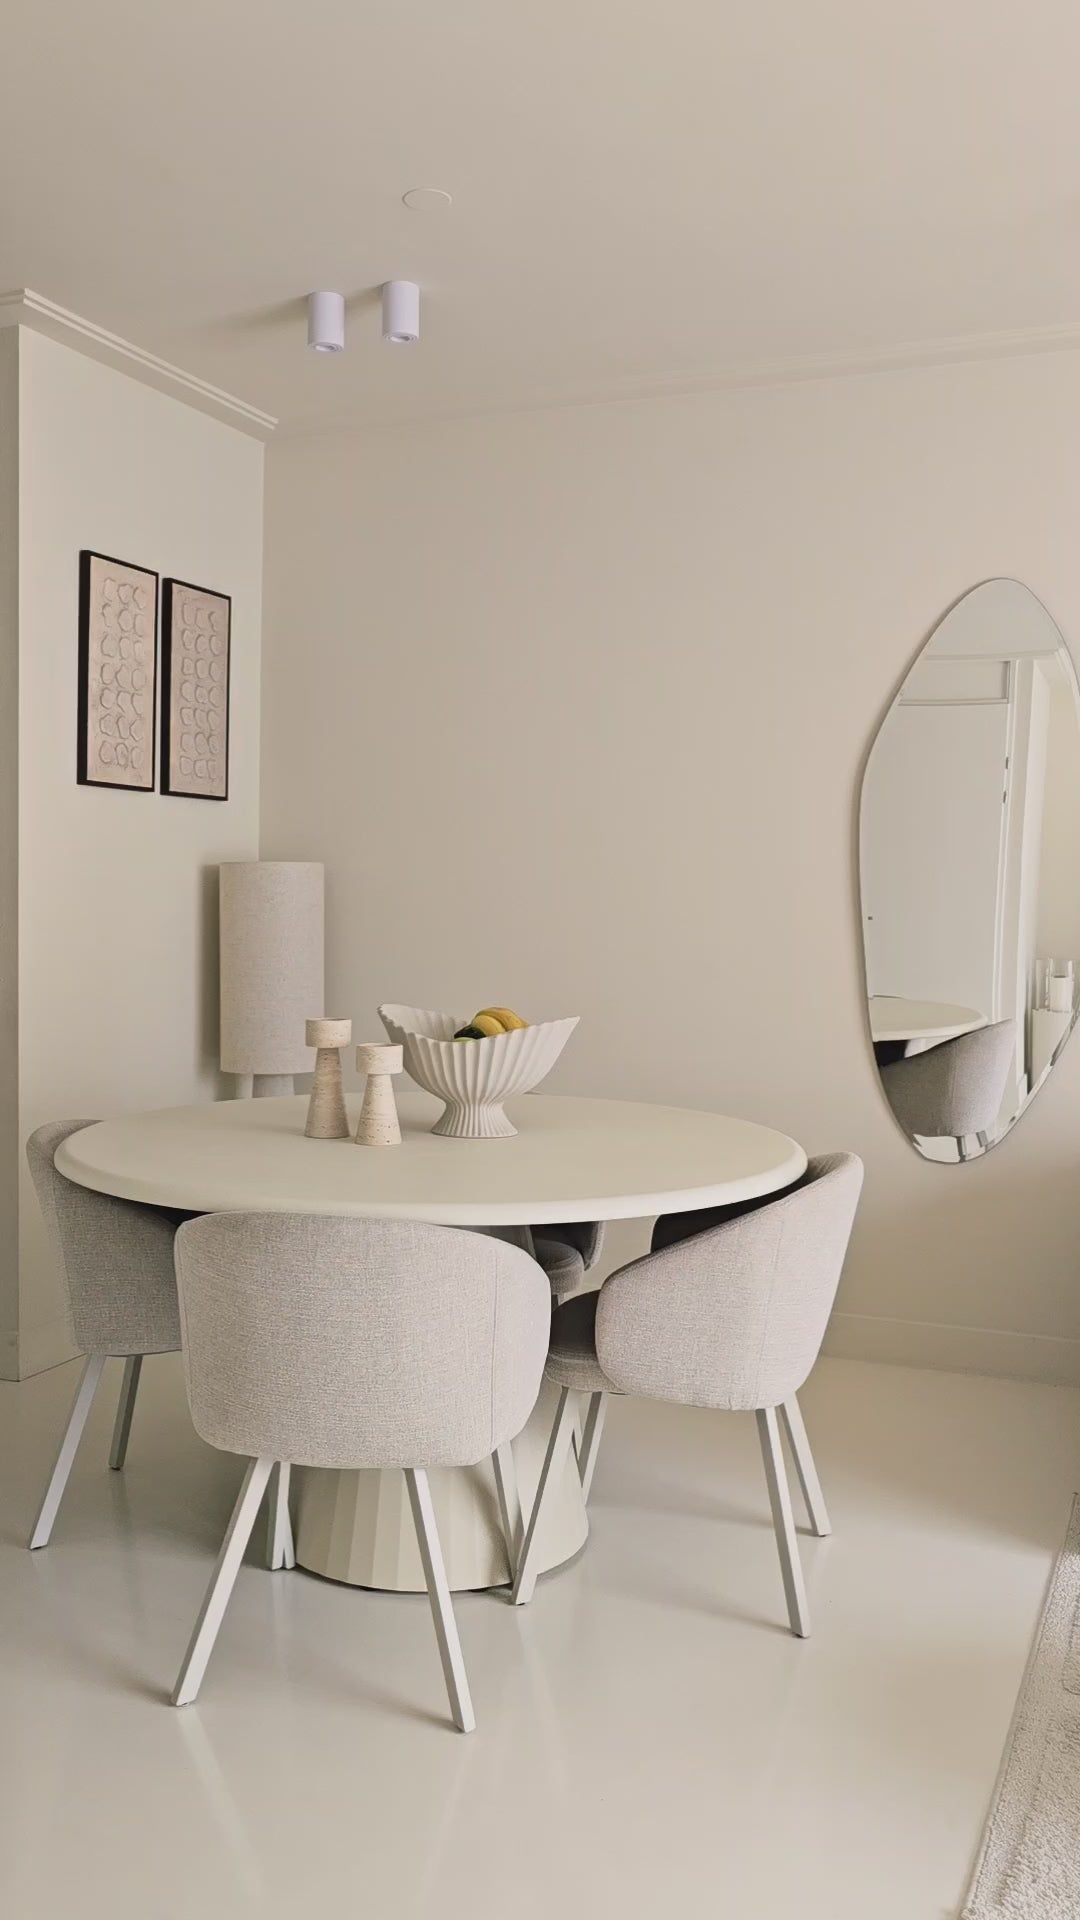
In a world overflowing with stimuli, the minimalist interior design style is more than a trend; it's truly about unwinding in your own home. The principle of "less is more" creates an environment of peace, space, and focus. But minimalism doesn't mean an interior has to be dull or characterless. The true art lies in adding subtle, thoughtful details that create depth and refinement without visual clutter. In this guide, we'll show you how, when applied correctly, moldings can be the secret ingredient to a minimalist interior that still boasts a striking appearance.
What is a Minimalist Interior? More Than Just White
A minimalist interior is about reducing a space to its bare essentials. It revolves around clean lines, a subdued color palette, and the elimination of unnecessary items. Every remaining item has a clear function or a special aesthetic value. The goal isn't emptiness, but a conscious, organized, and serene environment that brings peace of mind. It's the ultimate form of "organized simplicity."
The Characteristics of a Minimalist Interior
- Subdued Color Palette: Mostly monochrome schemes. Think white, gray, beige, and black, often in tone-on-tone (different shades of the same color).
- Clean Lines: Straight, uninterrupted lines dominate furniture, architecture, and decor. This is where you can achieve the most beautiful effects with moldings.
- Empty Space: Empty areas are deliberately used to create a sense of calm and openness.
- Focus on Texture: Because color and decoration are limited, depth is created by combining different textures, such as smooth plasterwork, a soft wool rug, or the subtle shadow of a molding.
The Art of Subtlety: Moldings as Detail
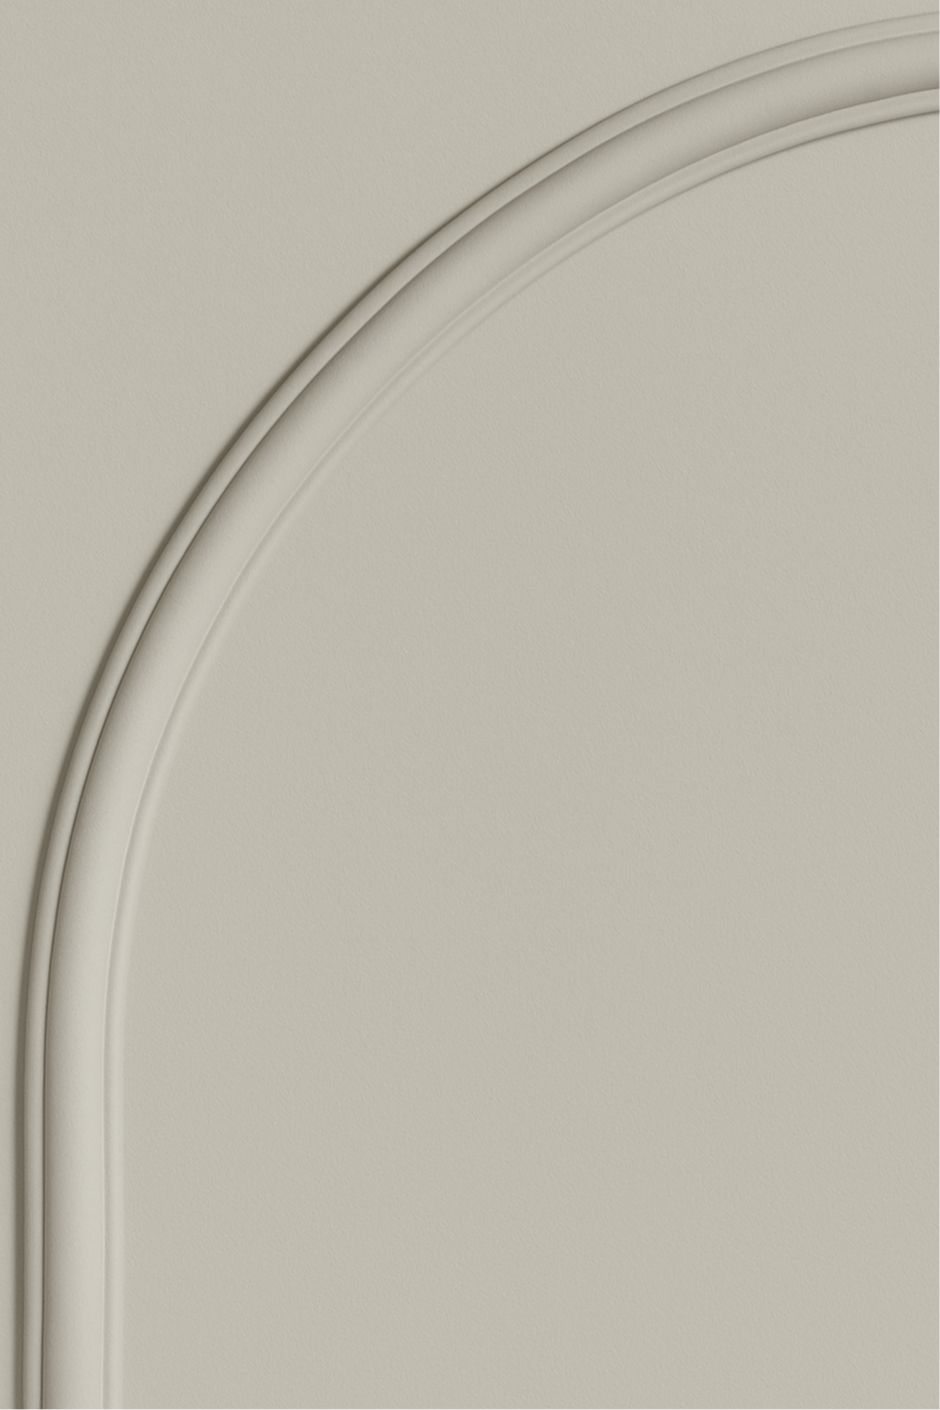
Moldings in a minimalist interior? Absolutely. But not in the traditional, decorative way. In minimalism, moldings don't serve as decoration, but as an architectural element. By painting them the exact same color as the wall (or a shade darker, a la tone-on-tone), they blend seamlessly with the wall. What remains is a refined interplay of light and shadow: a subtle line that adds depth and a sense of luxury and precision.
With Velida Flex Frames, you can easily create sleek, geometric surfaces on a wall. Imagine a single, large frame that visually breaks up a wall, or a pattern of vertical lines that emphasizes the height of a room. Because our frames are self-adhesive, you avoid the hassle of glue and sealant, which is essential for the sleek, seamless finish this style requires.
Your Step-by-Step Plan for a Sleek, Minimalist Wall
- Choose your canvas: A large, empty wall is perfect. Think of the wall behind your sofa or the longest wall in the hallway.
- Design with Precision: Use a level and pencil to trace your design with extreme precision. In minimalism, every millimeter matters. Think of a large, single frame or a series of three clean vertical lines.
- Cutting and Gluing: Cut the Flex moulding perfectly straight with sharp scissors or miter shears. Glue the moulding securely along the pencil line. Work carefully and press the moulding firmly for a perfect bond.
- Paint for Unity (Tone-on-Tone): This is the most important step. Paint the trim and the entire wall in the exact same or a darker shade. This creates the subtle, architectural shadow effect that is the essence of minimalism with trim.

Frequently Asked Questions (FAQ)
1. Isn't a decorative molding too classic for a modern, minimalist interior?
Not if you use the tone-on-tone technique. By painting the frame the same color as the wall, it becomes a modern, graphic element instead of a classic ornament.
2. Which type of molding profile is best for minimalism?
Choose a frame with minimal embellishment. Straight, flat, or subtly rounded profiles work best. The focus is on the line, not the shape of the frame itself.
3. Can I also do this on a wall with a light texture?
For the smoothest result, a smooth wall is ideal. Our Flex Mouldings can bridge minor imperfections, but the minimalist aesthetic is best achieved on a smooth surface.