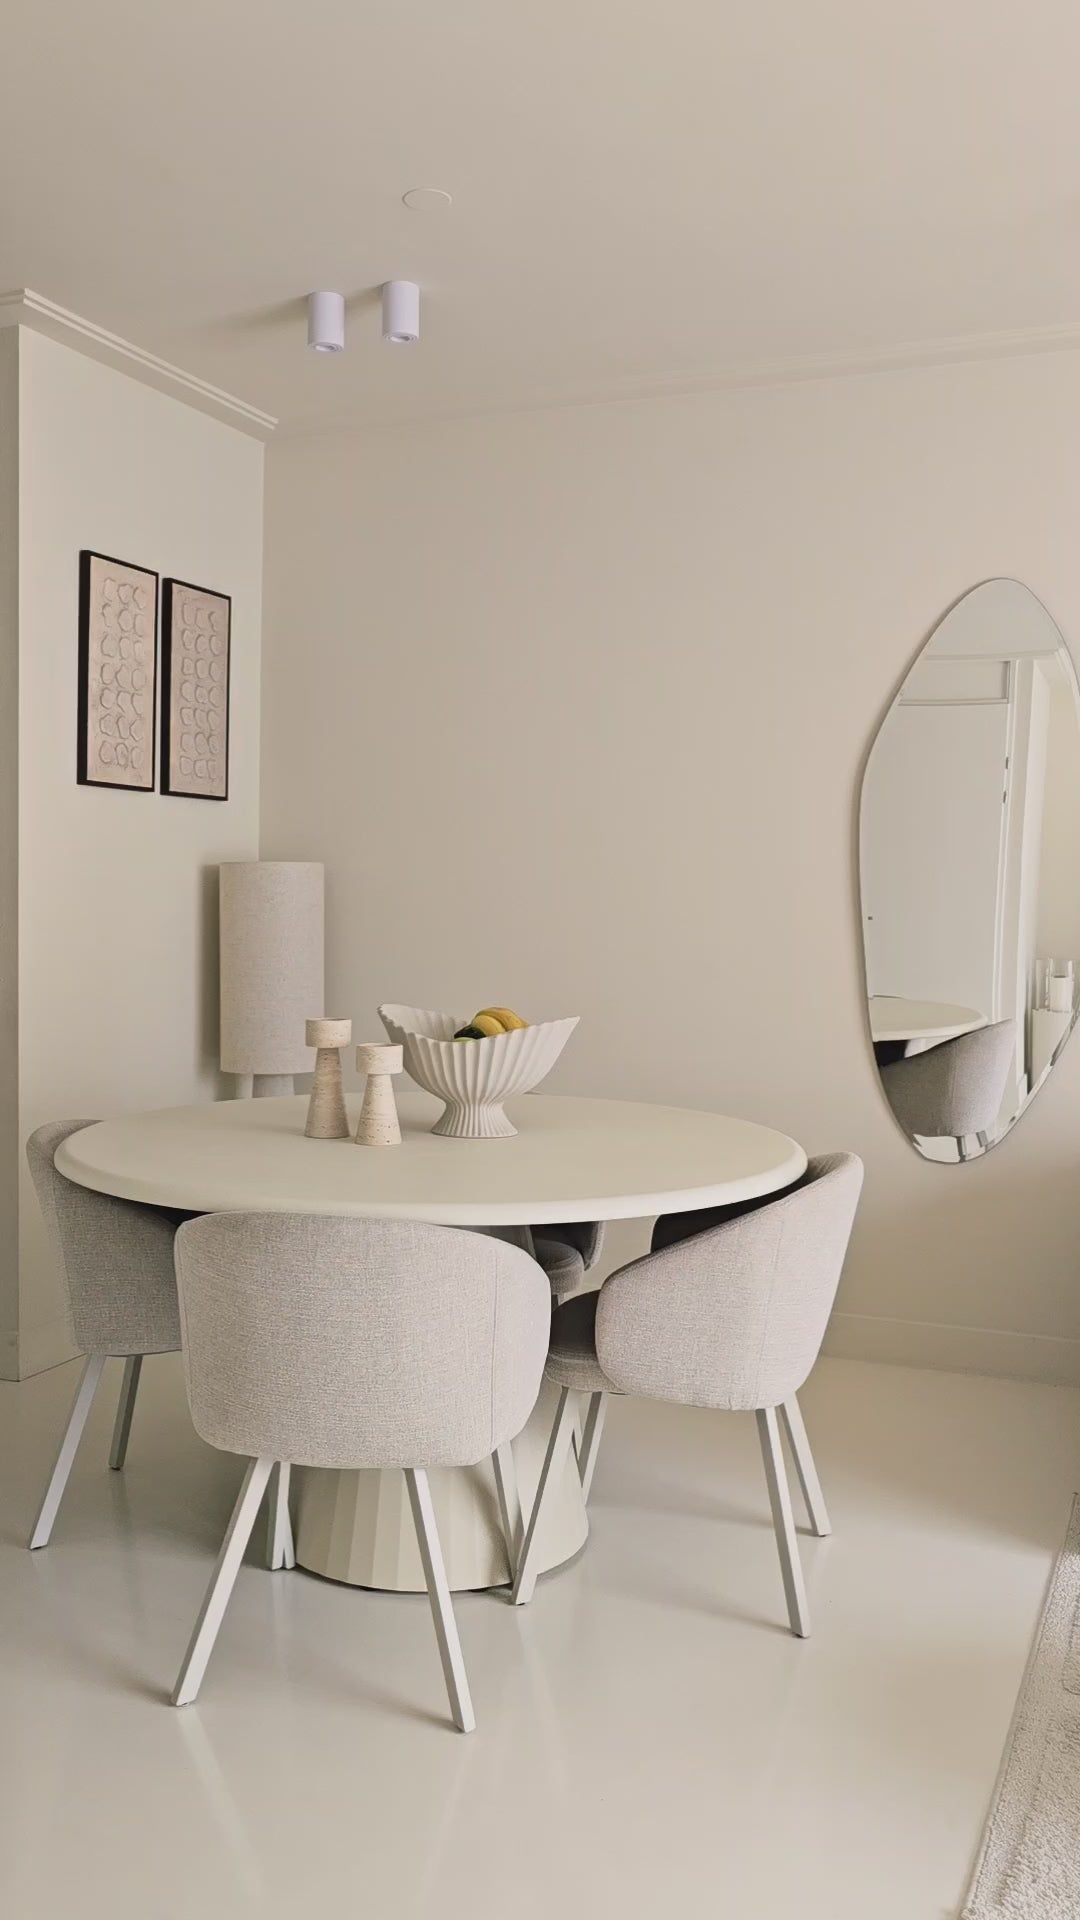
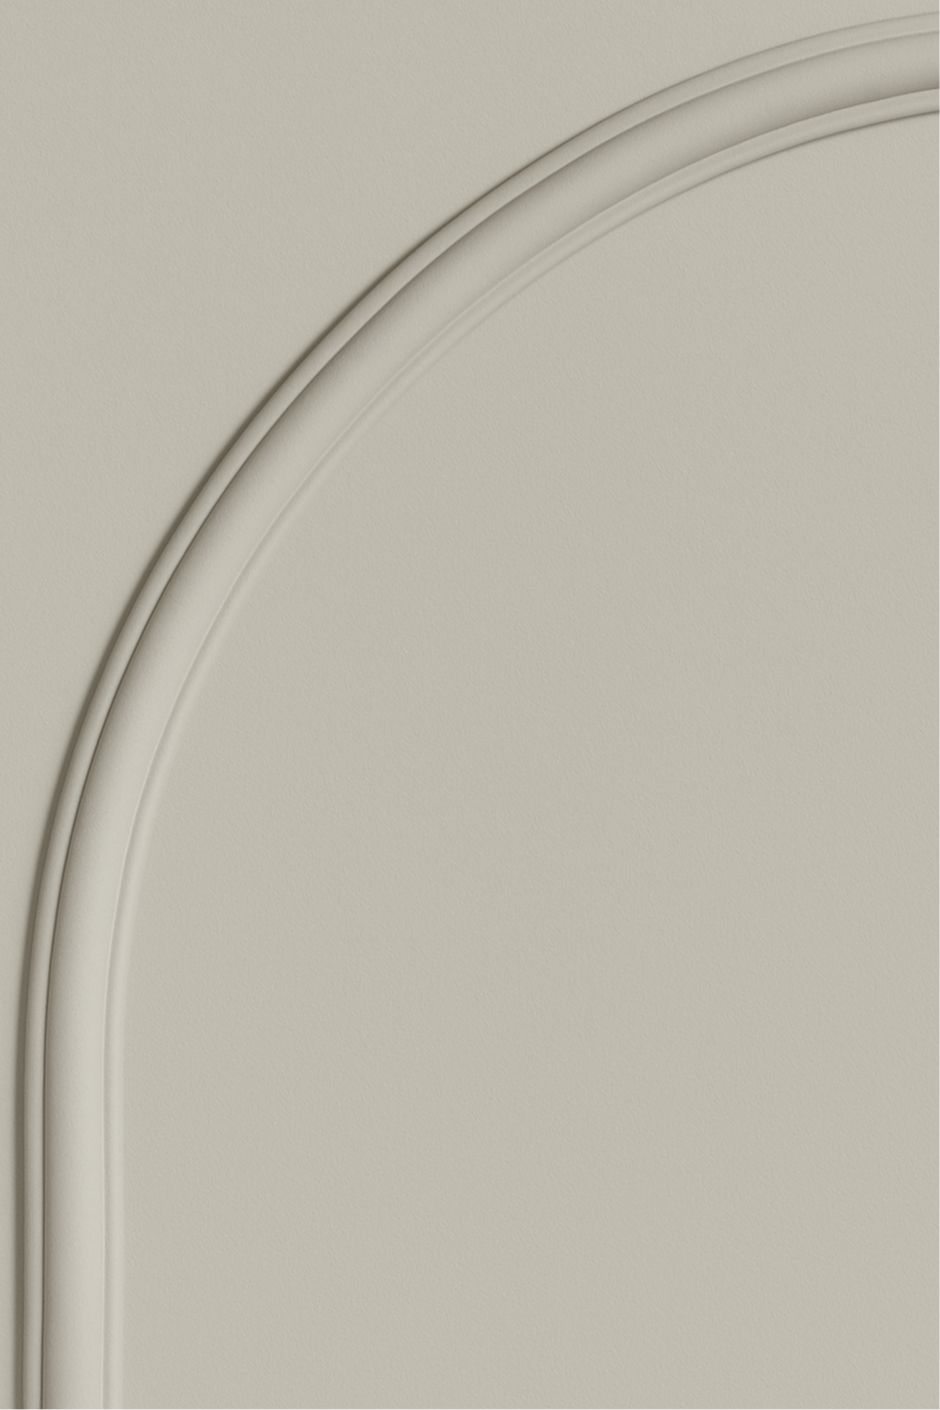
Step 1: my design
The first step is to decide exactly what kind of pattern you'd like on your wall. Think carefully about the layout: do you want one panel or several? A clean frame or playful shapes such as arches? What fits visually with the rest of your interior? Popular styles like wainscoting often come up here. Your design ultimately determines how many metres you'll need, so give it some thought.
Because the design options are endless, we'll cover exactly how to make a design in a future blog. These days that's very easy to do with AI.
Step 2: Measuring matters
In the second step we'll measure the width of the wall where you want to apply mouldings. Let's work through an example.
 For this example we'll use a wall that's 4.80m wide and 2.50m tall where we want to place decorative mouldings. We're going to apply three moulding frames on this wall: two narrow frames at the sides and a wider one in the middle. We'll use this layout to calculate exactly how many metres of moulding are needed.
Step 3: laying out the wall
Let's take a logical design based on the wall. In general you allow about 10 to 15 centimetres of space between frames. That keeps the overall look calm. You can of course choose more spacing, depending on your taste and interior.
Now it's important to get the dimensions clear:
|
Element
|
Width (cm)
|
|
Left margin (wall)
|
30
|
|
Narrow frame left
|
90
|
|
Spacing left/middle
|
15
|
|
Middle frame
|
200
|
|
Spacing middle/right
|
15
|
|
Narrow frame right
|
90
|
|
Right margin (wall)
|
30
|
|
Total
|
480 cm
|
Based on the design, we divide the 4.80 metre wall into separate sections. We keep 30 cm of space at the sides and 15 cm between the frames so the whole thing feels airy and symmetrical.
The total comes to exactly 480 cm, the full width of the wall. This layout forms the basis of your final calculation.
Step 4: the height of the frames
Now we've decided on the width layout, we'll look at the height of the frames.
A common rule of thumb is to use 65 to 75% of the wall height. That way you keep enough space above and below, which keeps the overall picture calm.
That gives a frame height of 190 cm, with 30 cm of space above and below (for skirting board and ceiling).
Step 5: doing the maths
Now it's time to calculate how many metres of Flex Mouldings you need in total.
Based on our three-frame design, here's exactly how many metres of moulding you'll need. The width and height measurements per frame lead to the following total calculation:
|
Frame position
|
Width (cm)
|
Height (cm)
|
Horizontal (2×)
|
Vertical (2×)
|
Total per frame
|
|
Left (narrow)
|
90
|
190
|
1.80 m
|
3.80 m
|
5.60 m
|
|
Middle (wide)
|
200
|
190
|
4.00 m
|
3.80 m
|
7.80 m
|
|
Right (narrow)
|
90
|
190
|
1.80 m
|
3.80 m
|
5.60 m
|
|
Subtotal
|
|
|
|
|
19.00 m
|
|
+ 10% cutting waste
|
|
|
|
|
+1.90 m
|
|
Total needed
|
|
|
|
|
20.90 m
|
As you can see, the total length comes to 19.00 metres. But we're not done yet, because there's always cutting waste to deal with. When you cut mouldings to size, you'll always lose a small amount. Think of corners that aren't cut perfectly straight, small adjustments or cutting mistakes.
To make sure you have enough, we always recommend adding 10% on top of the total. Example: Do you need 19 metres? Then order around 20.90 metres including cutting waste.
Cutting waste isn't a waste of material, it's a safety margin that prevents frustration and helps you achieve a professional end result.
Ready to get started?
As you've seen, working out the right amount of decorative mouldings is mostly a matter of preparing well. By first getting your design clear and then measuring and calculating smartly, you'll avoid surprises during installation. And with 10% cutting waste as a buffer, you're always on the safe side.
Whether you go for a clean frame, several panels or something more creative, you've now got everything you need to get started with confidence.
Show us your result
Have you installed your mouldings? Then we'd love to see the finished result! Send your photo to info@velida.nl or tag us on Instagram via @velida.nl. You could be featured on our page!