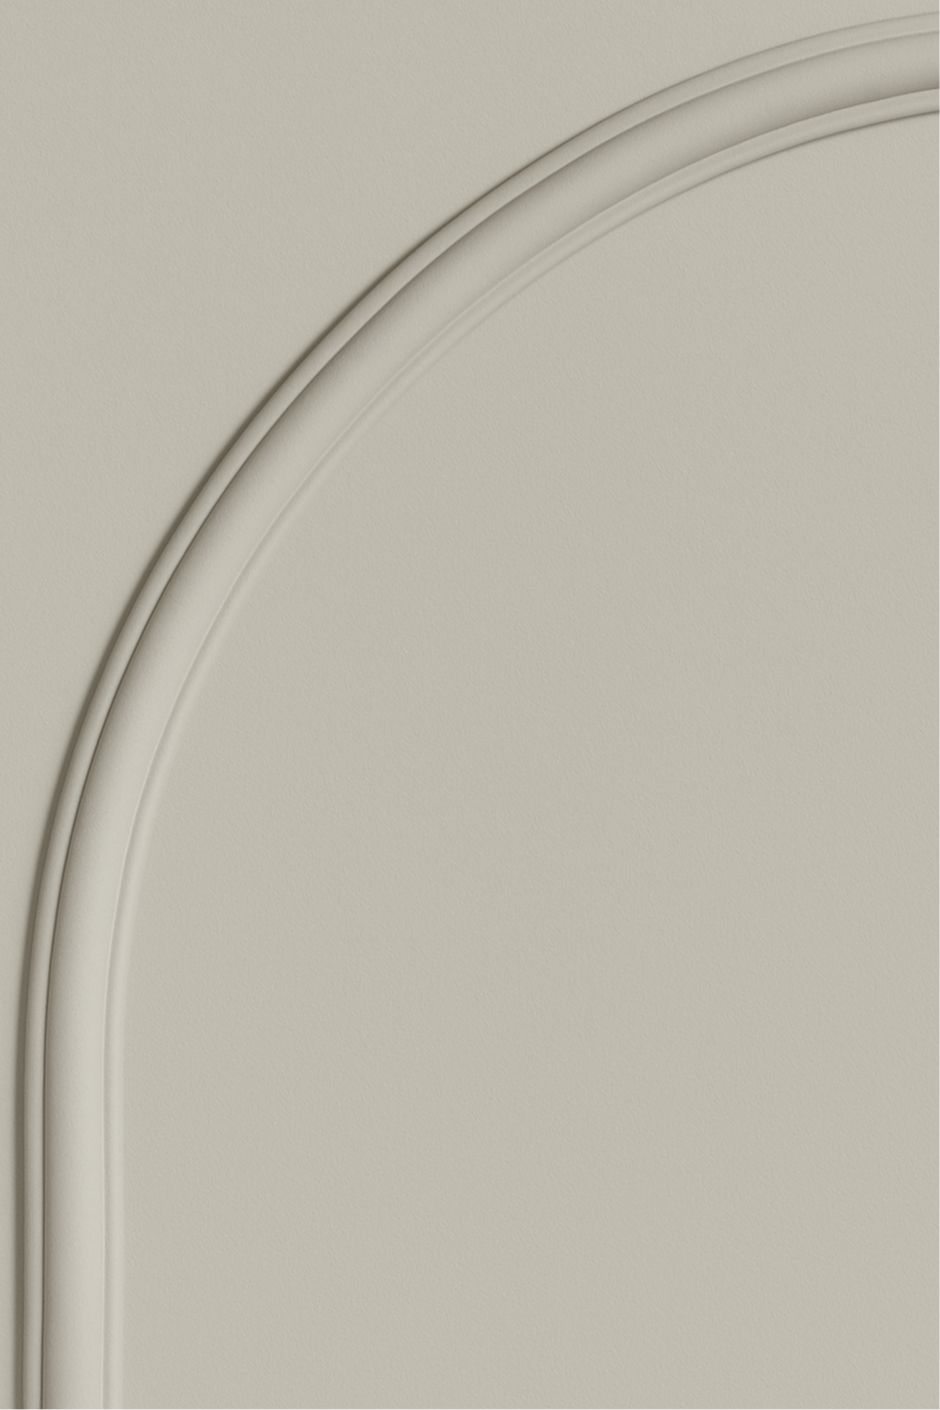
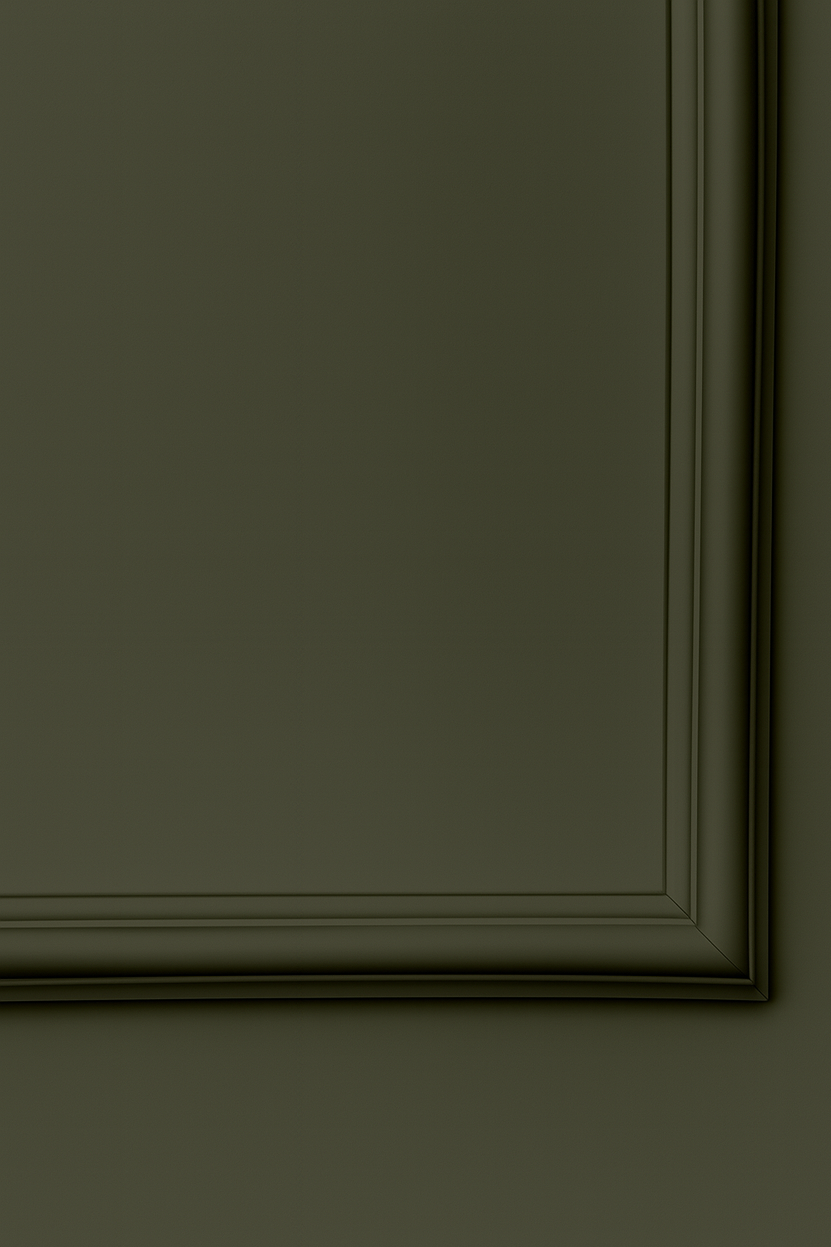
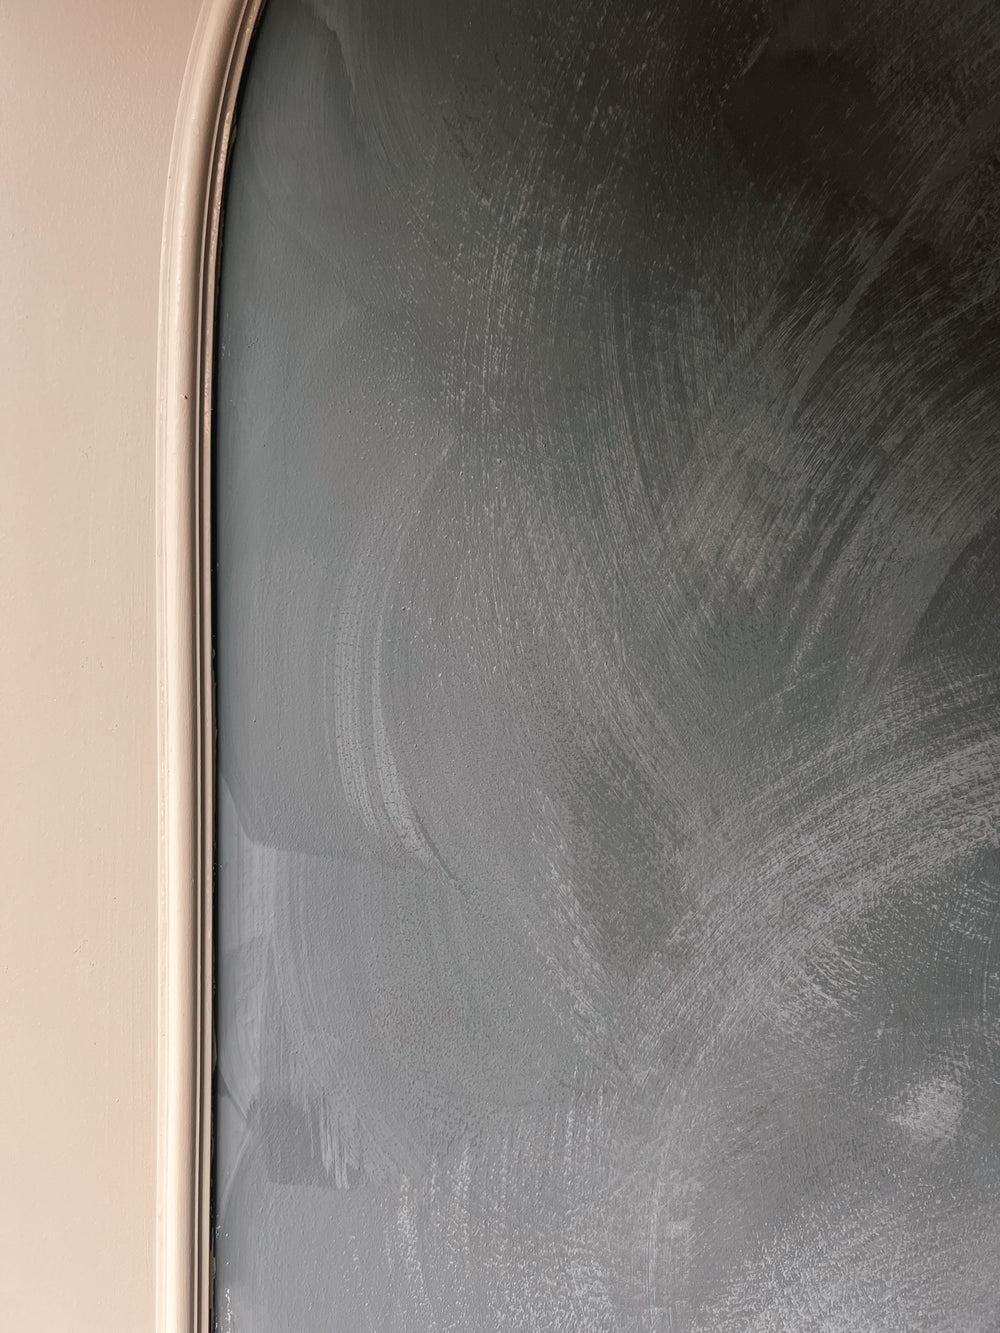
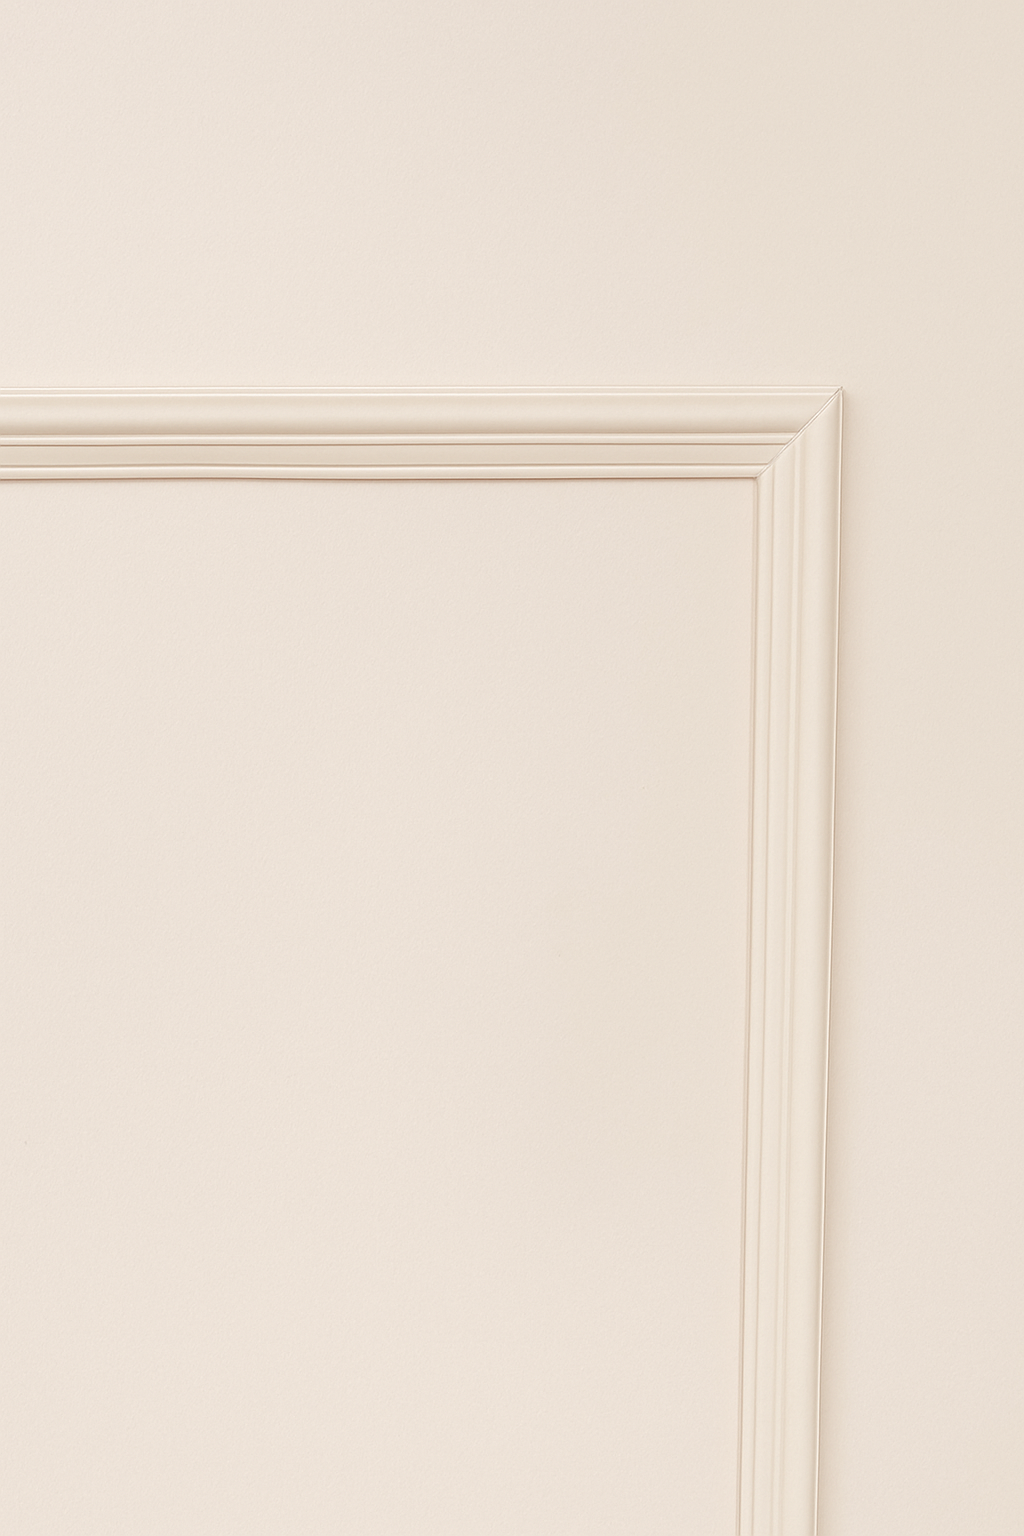
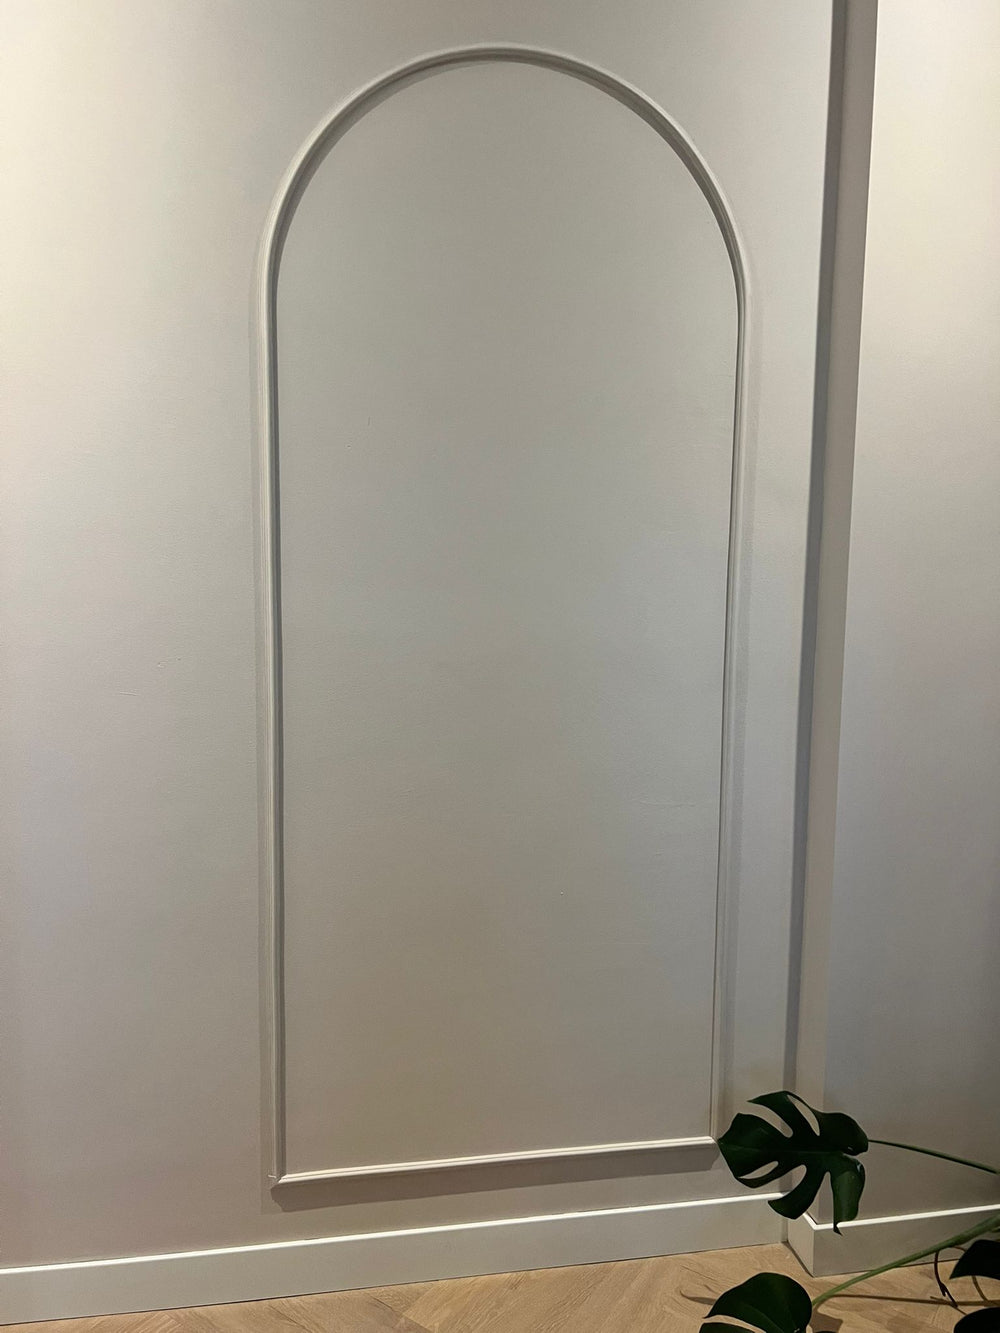
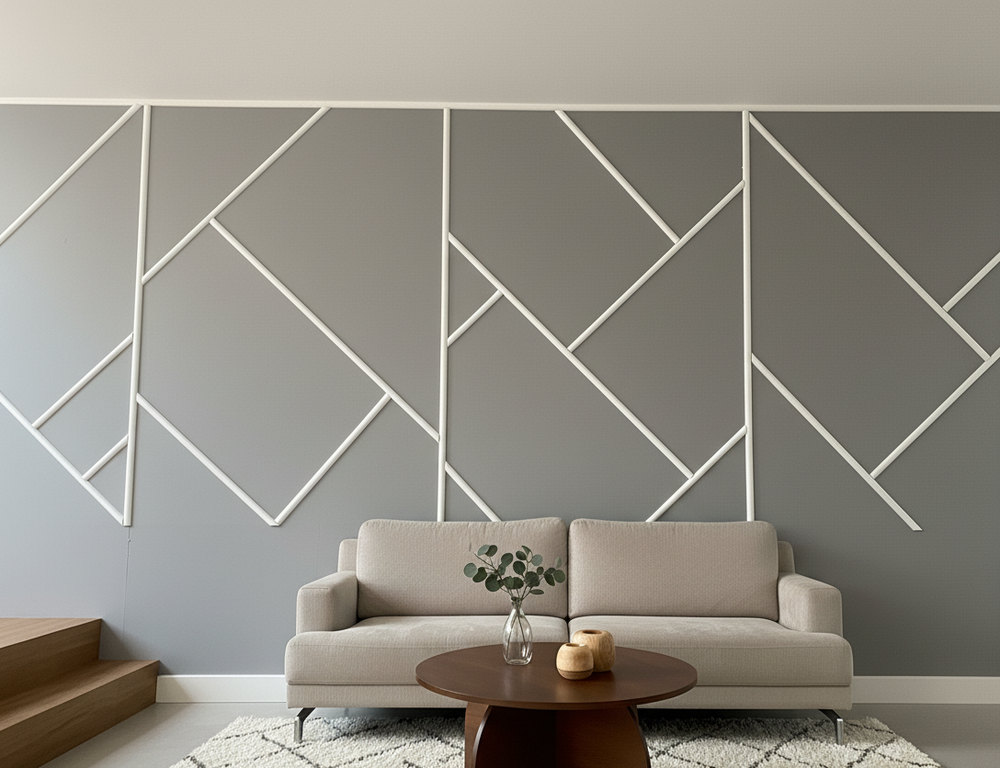
Get started with Velida Flexlijsten yourself
Create sleek frames or arches in just 30 minutes. See below for a step-by-step guide.
Table of contents
- De inhoudsopgave wordt automatisch gegenereerd...
Supplies
You don't need much to get started. Use everything below to install the frames neatly and tightly.
Tape measure or measuring tape
To determine the correct dimensions for your design. This way, you know exactly how much molding you need and avoid waste or shortages.
Spirit level or laser
For marking straight lines on the wall. An essential tool to ensure that the moldings are installed straight and level.
Skirting board cutter or utility knife
If necessary, use a miter box when using a Stanley knife to easily cut the flex frames to the correct angle.
Rope (Optioneel)
Rope helps create beautiful, flowing curves. Ideal when working with rounded shapes or symmetrical designs.
Try square (Optioneel)
For a clean finish and perfectly straight 90° corners, a set square is ideal. It allows you to effortlessly draw right-angled lines and ensure your frames always fit together perfectly.
Preparation & Tips
Good preparation ensures the best results. Follow these steps before you begin.
Check that the wall is flat, dry and dust-free.
Unroll the molding completely and allow the material to relax for a moment.
Before you start installing, sign off everything first.
Before you start gluing, first check whether the corners fit together nicely to avoid disappointment.
Make sure the frames are cut straight. This prevents corners from not fitting together neatly.
Keep the Flex frames horizontal and straight when cutting them to size. Don't let the material hang! Otherwise, you risk cutting them off straight.
Step-by-step plan
Step 1: Preparation
- Measure the wall : Use a tape measure to measure the dimensions of the wall where the moldings will be placed.
- Plan the design : Using a pencil, sketch the design on the wall, and use a spirit level and square to mark the exact locations of the moldings. Draw the straight lines first, then use a spirit level to check that the lines are straight and parallel to each other.
For the arches, it's important to first determine the center of the arch. Once this is determined:
- Measure the width of the area where the arch will be located and divide this width by two to determine the horizontal center.
- Next, choose how high you want the arch to be and mark this point on the wall. This will be the center point where you'll attach the rope.
- The length of the string equals the radius of the arc (the distance from the center to the edge of the arc). Measure the desired radius from the center and cut the string to this length.
- Draw the arc and check the symmetry.

Step 2: Prepare the moldings
- Cutting to size : Cut the moldings to the correct length with a skirting board cutter at a 45 ° angle
Note: Make sure the moldings are cut straight to ensure the corners fit together properly!
Because the material is flexible and often comes out of the roll slightly curved, it may curl slightly. This is normal. Therefore, make sure you have two people working with it: one person holds the molding firmly, straight, and flat on the skirting board shears, while the other cuts.
This prevents crooked cuts and ensures the corners fit neatly and snugly together later. If the cut isn't straight, the corners may not fit together properly. - Bending and fitting : Test the flexible moldings by holding them along the drawn lines to see if they fit properly.

Step 3: Attaching the moldings
- Installing the molding : Press the molding firmly against the wall along the marked lines and peel off the tape to adhere the material to the wall. If you can't remove the adhesive strip, see step 5.
- Start with the straight line at the bottom and work from there.

Step 4: Finishing & painting
Time to paint!
We recommend painting the Flex frames afterwards. This ensures your creation blends seamlessly into your interior.
The matte finish makes it easier to paint. Two coats are often sufficient, depending on the color.

Tips
Is the adhesive strip difficult to remove? Don't panic! Use a cocktail stick or toothpick and insert it between the tape. This will make the adhesive strip easy to remove.
Please also take into account 10% cutting loss when calculating the required quantity.
Because the Flex frames are delivered tightly rolled up after production, the end of the roll may sometimes bulge or curl slightly.
For best results, cut this piece off and use only the flat part of the molding.
No cutting waste, but still want to use the entire roll? Before installing, unroll the molding at room temperature and let it rest briefly with a light weight on the end. This will relax the material and make it easier to maintain its flatness during application.
Still not working? Then use an acrylic sealant.

Frequently Asked Questions
This depends on which design you would like to apply.
To help you get started, we've written a guide on how to easily determine how much length you need.
Absolutely. All Velida Flex frames can be painted over with wall paint. This way you can fully integrate them into your interior colour or create a beautiful accent wall with a tone-on-tone effect.
Yes. The frames are equipped with a high-quality acrylic adhesive strip that ensures long-lasting adhesion, even on smooth plastered walls, wallpaper, or renovation fleece. Make sure the surface is free of grease and dust.
Once you've firmly pressed the molding into place and the final shape is achieved, we recommend against removing it. The adhesive is very strong and provides long-lasting adhesion, but it can leave marks on painted walls when removed.
Velida Flex frames are basically designed as a sustainable interior upgrade. But do you still want to remove them? You can, as long as you do this carefully and in a controlled manner.
Important: Always pull the moldings off slowly in sections. Start at one side and pull gradually, without jerking. This prevents damage to the wall or paint layer.
With firmly pressed frames (especially after a long period of time), the adhesive strip may adhere so well that paint may come off when removed, especially on vulnerable surfaces such as thin layers of paint or untreated renovation fleece.
Our tip: If necessary, warm the molding slightly with a hair dryer (lukewarm) before loosening it. This makes the glue a little more flexible and reduces the chance of damage.
Do you want to be 100% sure of damage-free removal in the future? Then first test on an inconspicuous piece of wall or choose to mount on well-painted, smooth surfaces.
Yes, the material is moisture-resistant and bends without breaking. However, the surface must be dry and flat during application.
The minimum radius is 50 centimeters. Smaller arches will put too much tension on the material and prevent proper installation.


